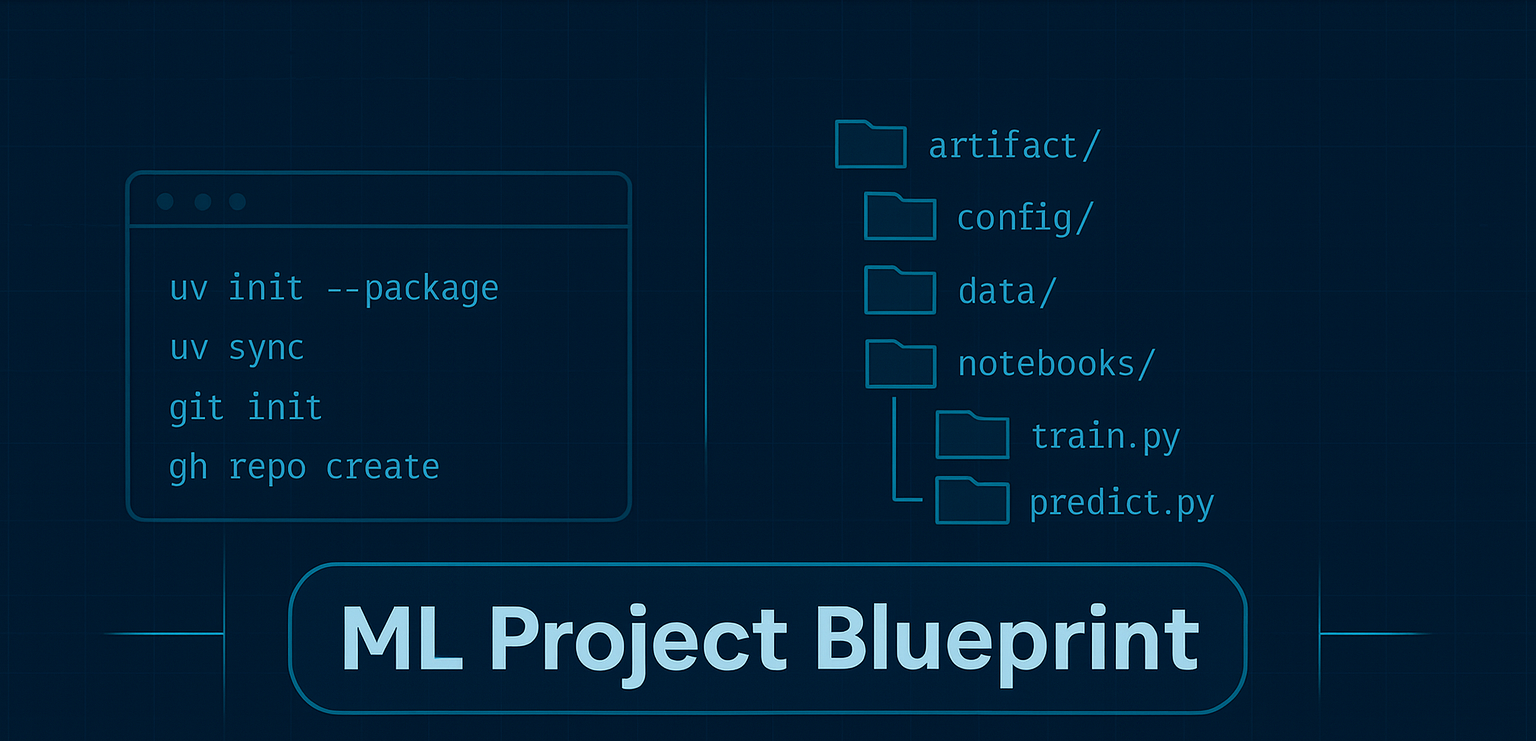
Your ML Repo Starter Kit: src Layout, uv venv, GitHub Push
Most ML ideas start life in a notebook. Some even grow up there. But if you’ve ever tried to take a promising experiment from your laptop - or even worse, from another developer's laptop - to another environment, you know the pain: missing dependencies, mystery settings, scattered scripts, and plots living in five different folders. Today, we fix that by giving your project a simple, professional backbone you can build on.
By the end of this step, you’ll have:
- a minimal-but-solid repo structure you can reuse,
- a reproducible environment managed with
uv, - your package importable from scripts/notebooks,
- a first dataset wired in for quick iteration,
- and your initial commit live on GitHub.
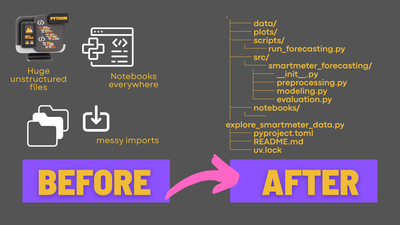
Repository Structure
In the following sections, we will create this structure step by step and explain what each component is for:
.
├── artifacts/ # generated: duckdb, plots, metrics, temp exports
├── config/
│ ├── project.yaml # paths, switches, seeds
│ ├── features.yaml # feature toggles/params
│ └── model.yaml # model + training params
├── data/ # tiny sample inputs only (ok to commit if small)
├── notebooks/
│ └── explore.ipynb
├── scripts/
│ ├── train.py # calls into src.<pkg>.* with configs
│ └── predict.py
├── src/
│ └── <your_pkg>/
│ ├── __init__.py
│ ├── config.py # Pydantic loader for YAML files
│ ├── data.py # load/split IO; write to DuckDB if used
│ ├── features.py # transforms / feature sets
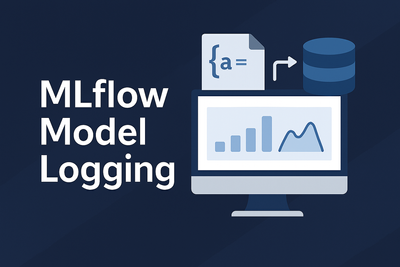
│ ├── modeling.py # fit/persist; MLflow logging hooks
│ └── evaluation.py # metrics & plots
├── tests/
│ ├── __init__.py
│ └── test_smoke.py
├── pyproject.toml
├── README.md
└── uv.lock
What tools will add for you
Directories that tools might add to you, depending on what you use:
- dist/ → appears when you run
uv build(wheel + sdist). No need to pre-create. Astral Docs - .venv/ → created on first
uv sync/uv runinside the project. Astral Docs - mlruns/ → MLflow’s default local store; created the first time you log a run. mlflow.org
pycache/→ Python runtime byproduct → ignore
Developing locally with your src package (editable)
The mental model
- Your code lives under
src/<pkg_name>/…. - Your virtual environment “installs” that package in editable mode (PEP 660).
- You run everything through that environment (via
uv run …), soimport <pkg_name>just works. - Because it’s editable, changing files in
src/<pkg_name>is immediately visible to Python without needing to reinstall.
Bootstrap the repository and environment with uv
# 1) Create project as a packaged app (gives you the src layout and basics for building the package later)
uv init --package ml-blueprint
cd ml-blueprint

# 2) Build the package locally and set up a venv at the same time
uv sync
Some notes on defaults and changes you might want to make:
- Change the package name
- Change "ml-blueprint" to anything else you might want the project or package called.
- Specify Python version
- If you want a different or specific Python version for your virtual environment, change the Python version in both the
pyproject.tomland runuv python pin 3.12to update the version designated in the.python-versionfile in your repository before runninguv sync. - You can also change this later; just rerun
uv sync, and it will create a newvenvfor you.
- If you want a different or specific Python version for your virtual environment, change the Python version in both the
- Add additional Python libraries/dependencies
- If you already know which libraries you'll need for your project, you can add them to both the
pyproject.tomland thevenvat the same time by runninguv add <package-name>, for example,uv add scikit-learn.
- If you already know which libraries you'll need for your project, you can add them to both the
Setting Up Directories
# 3) Create necessary folders
mkdir -p config data artifacts notebooks scripts tests
Purpose of each directory:
config: Contains configuration files likeproject_config.yamlandmodel_config.yaml, which define paths, hyper-parameters, and feature transformations.data: Stores small data samples that can be shared via version control without overwhelming the system.artifacts: Holds all output files, such as a local DuckDB database, plots, and model files. These are typically not shared via version control due to their size. Instead, use services like MLflow for sharing model files and plots when tracking experiments.notebooks: Used for experimenting with the existing code base. These notebooks should import from theml_blueprintsource package whenever possible and should not contain any logic intended for long-term use.scripts: Contains lightweight entry points for executing workflows, such as a training script that initiates and calls classes and methods from thesrcpackage. Major logic should not reside here; instead, focus on orchestrating workflows and loading configurations from theconfigfiles.tests: A place for unit tests and other testing scripts, if you choose to include them.
Connect to git & adjust .gitignore
# Python-generated files
__pycache__/
*.py[oc]
# Virtual environments
.venv/
.ruff_cache/
.pytest_cache/
# Builds & metadata
build/
dist/
wheels/
*.egg-info
# ML / local runs
mlruns/
artifacts/
*.db
# OS/IDE
.DS_Store
.idea/
.vscode/
You can create the remote GitHub repository via the GitHub CLI (brew install gh if you are using Homebrew on Mac or Linux):
# First time set-up/authentication:
gh auth login
git config --global init.defaultBranch main

# 1) initialize git if needed
git init

# 2) stage & commit
git add .
git commit -m "chore: initial commit"

# 3) create the remote GitHub repo and push in one go
#    replace ml-blueprint with your repo name; add --private or --public
gh repo create ml-blueprint --public --source=. --remote=origin --push

# 4) confirm
git remote -v
No spam, no sharing to third party. Only you and me.
Member discussion